
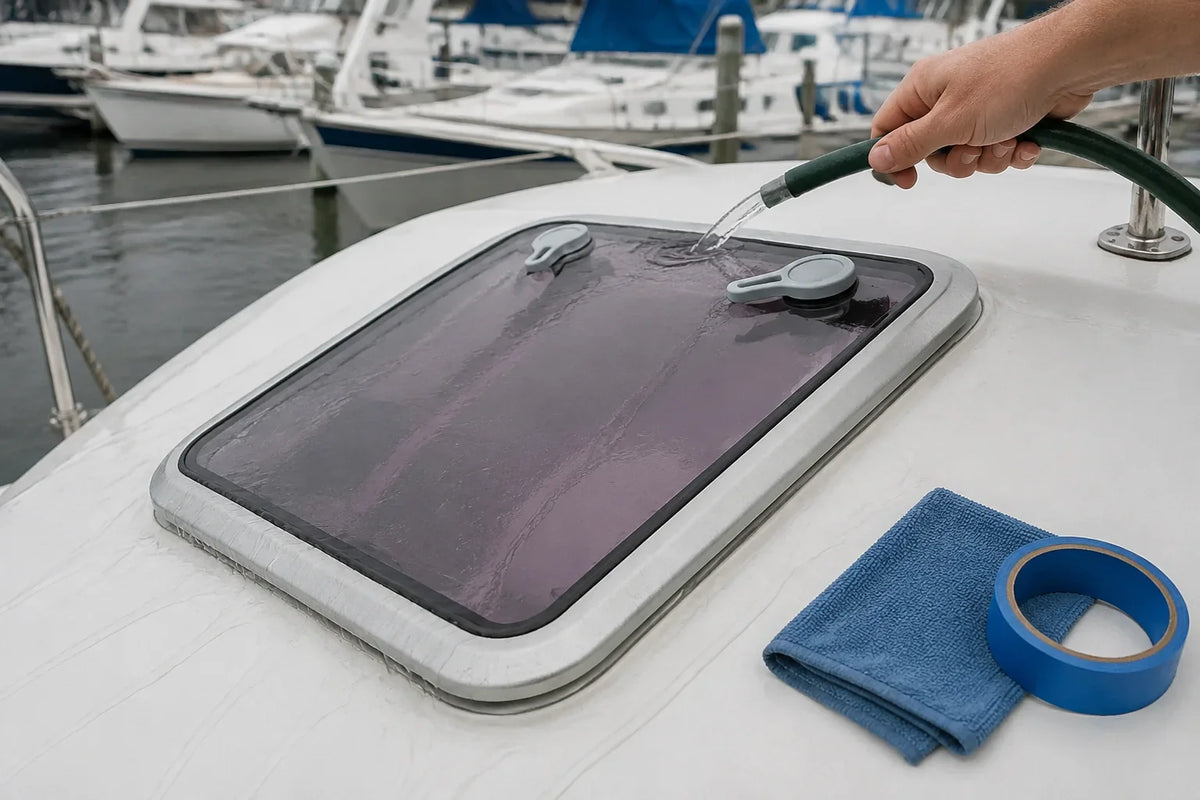
Cover image note: This AI-generated technical illustration shows a controlled low-pressure water test on a representative marine hatch. It is not a customer repair photograph or proof of watertightness.
A leaking hatch or portlight is a system problem with four possible paths: the lens-to-frame seal, the opening seal or gasket, the frame-to-boat bedding, and the fastener or substrate penetrations. Smearing sealant around the visible edge can hide the symptom without identifying the path.
Find the path before removing the frame
Begin dry. Clean the area and place absorbent paper at separate interior locations: beneath the frame joint, below fasteners and under the opening seal. Use a controlled, low-pressure water test starting below the suspected area and moving upward gradually. Have a second person watch inside. Do not use a pressure washer; it can create a leak that normal rain or spray would not.
Record which paper becomes wet first. Water can travel along a frame or headliner before it drips, so the first visible drip is not always the entry point.
Four leak paths, four different repairs
1. Gasket or opening seal
Inspect for dirt, cuts, hardening, permanent compression and uneven contact. Verify that hinges and latches bring the panel down squarely. Do not increase latch force merely to crush an aged gasket.
2. Lens-to-frame joint
Crazing, movement or failed seal at the lens may require a maker-approved lens service or replacement. Solvents and sealants that attack acrylic or polycarbonate can cause lasting damage.
3. Frame-to-boat bedding
Water at the perimeter or mounting holes can indicate failed bedding. A lasting repair normally requires removal, cleaning and rebedding with a compatible product—not an exterior bead over contaminated sealant.
4. Substrate or fastener penetration
Wet core, enlarged holes, corrosion or a distorted mounting surface needs repair before the frame is installed again. Tightening a frame onto a damaged or uneven opening can distort it and compromise operation.
Replacement fitment: record both cutout and frame
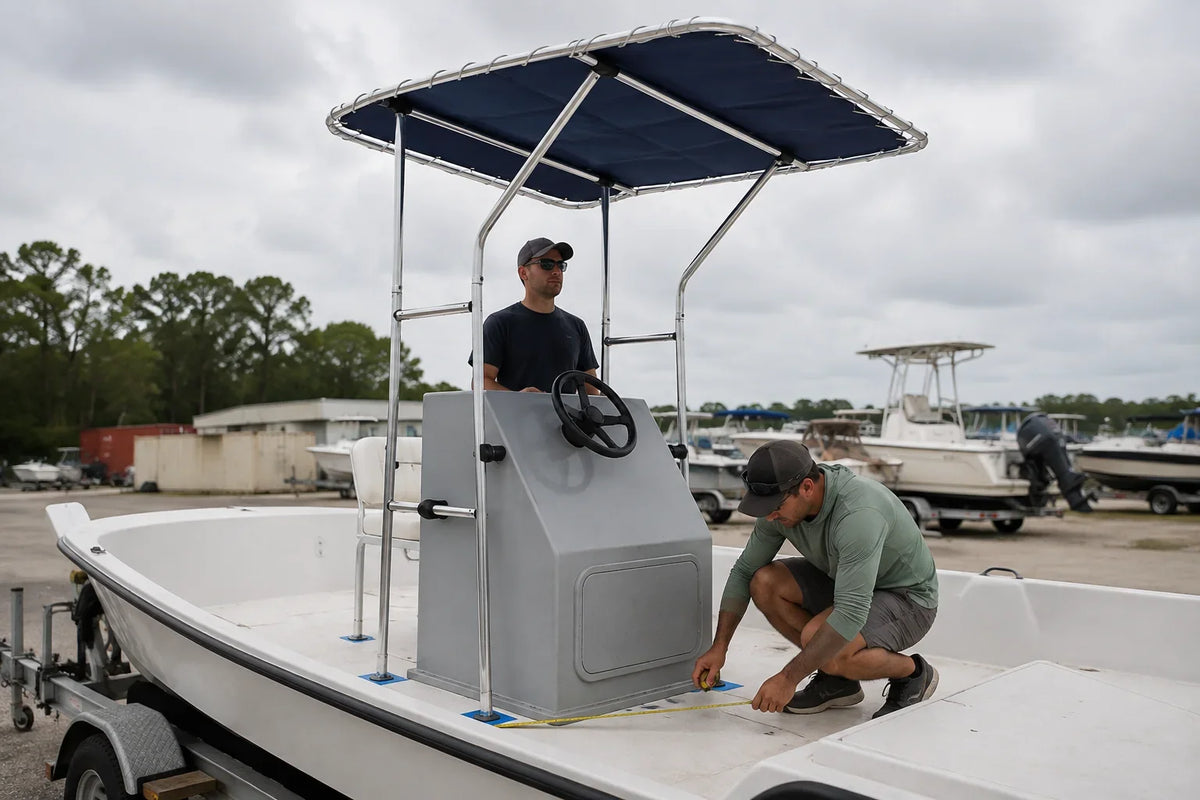
Measure the actual opening after the old unit is removed and the edge is visible. Record:
- cutout width, height or diameter at several points;
- corner radius;
- cabin or deck thickness and any liner gap;
- overall flange footprint and fastener pattern;
- surface curvature and flatness;
- hinge side, opening direction and required swing;
- interior trim or clamp-ring requirements;
- drain-channel and water-path orientation.
Nominal size may refer to the cutout, lens or overall frame. Confirm the dimensional drawing. The AirowMarine catalog includes an aluminum hatch family, a round deck-hatch form, an opening aluminum portlight, and a stainless-framed porthole form. They are not interchangeable simply because one dimension is similar.
Dry-fit without using fasteners as clamps
The frame should sit on the prepared surface within the flatness tolerance given by its manufacturer. All intended fasteners or clamp rings need usable access. Operate the hatch through its full arc, check handles and stays, and confirm nearby structures do not interfere.
If the frame rocks, find the cause. Pulling it flat with screws can twist the frame and produce binding or uneven gasket contact. The Lewmar-branded fitting guide is a useful example of manufacturer-specific preparation and flatness requirements; apply the instructions for the unit you actually install.
Bedding is a compatibility decision
Select bedding or sealant for the frame material, lens material, deck construction, joint movement and future removability. Protect acrylic and polycarbonate from incompatible chemicals. Mask carefully, use the bead and tightening sequence specified by the manufacturer, and respect cure conditions. BoatUS provides a helpful overview of marine sealant categories, but the label and component instructions control the final choice.
Acceptance test and maintenance record
After the required cure, operate all hinges, stays and latches. Conduct the same controlled water test used for diagnosis. Photograph the clean interior and exterior as a baseline. At routine inspections, clean drainage channels, inspect gaskets and fasteners, and note any change in closing force. A dated comparison is more informative than waiting for a large stain.
Safety boundary: Openings in exposed or load-bearing areas may have design, strength, fire or escape requirements. When the replacement changes size or structure, consult the boatbuilder or a qualified marine professional.

Leave a comment
This site is protected by hCaptcha and the hCaptcha Privacy Policy and Terms of Service apply.