
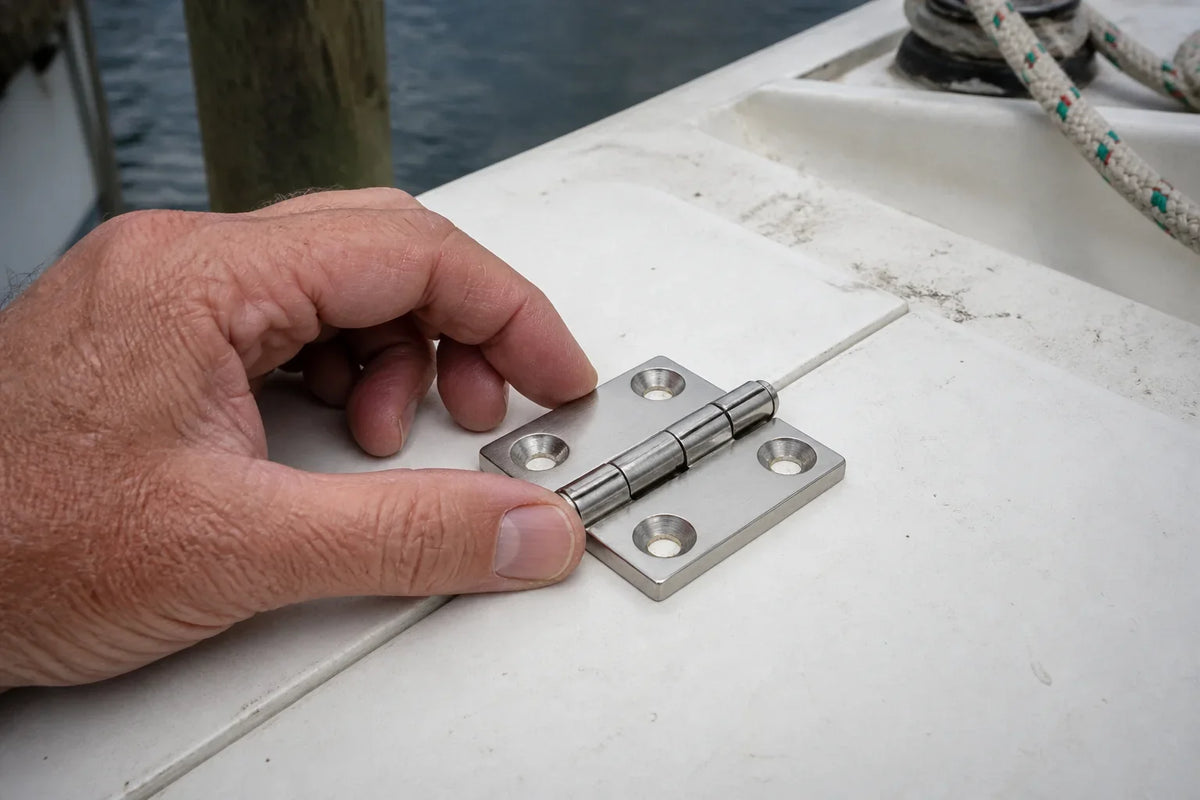
Cover image note: This AI-generated technical illustration shows a reference-based four-hole boat hinge during dry-fit. It is not a customer installation photograph or a substitute for measuring the actual hinge.
When a hatch lid sags, replacing the hinge with a heavier-looking one may make the problem worse. The useful question is: does the new hinge reproduce the old motion and transfer load into sound structure?
A hinge is a small mechanism with unforgiving geometry. Leaf offset, pin location, opening direction and screw pattern decide whether the lid clears its frame, compresses a gasket and stays aligned. Start with the old installation, not the product photograph.
Make a hinge record before removal
Take one square-on photograph of the closed hinge, one with the hatch partly open and one showing the underside. Add these measurements:
- overall open width and leaf length;
- each leaf width and thickness;
- pin diameter, knuckle length and pin position relative to the mounting faces;
- offset or step between leaves;
- hole diameter, countersink type and center-to-center pattern;
- the gap between lid and frame when closed;
- available opening angle and nearby interference.
Trace the open hinge on paper or thin card. Mark the pin centerline, mounting faces and holes. This low-tech template is often more useful than a single nominal dimension.
Choose the motion first
Butt hinge
Two leaves meet around a pin. It suits many flat mounting faces, but the pin centerline must land where the lid can rotate without binding.
Offset or 90-degree hinge
A stepped geometry can move the pivot away from a coaming or place leaves on perpendicular faces. The direction of that offset matters; mirrored-looking parts may not be interchangeable.
Take-apart hinge
Useful when a lid or panel must be removed without taking out fasteners. Confirm which direction the halves separate and whether surrounding structure leaves room to lift.
Continuous, or piano, hinge
Spreads attachment along a long edge and can control alignment, but only when both mounting surfaces are straight and the fastener line is properly supported. It does not compensate for a warped lid.
Why screw-pattern matching matters
Moving a hole a few millimetres can place it partly into an old hole or damaged laminate. That produces poor thread engagement and invites water into the substrate. If the pattern does not match, decide deliberately whether the old holes can be repaired and redrilled. Do not hide a crescent of an old hole beneath the new leaf.
AirowMarine examples include a cast butt hinge, an offset hinge, a take-apart hinge and a continuous hinge. Treat these as geometry examples. Confirm every dimension and the suitability of the fasteners and substrate for your load.
A dry-fit sequence that exposes errors early
- Support the lid in its correct closed position with even gaps.
- Position the hinge without sealant and mark the pin centerline.
- Move the lid through its full intended arc while maintaining support.
- Confirm that the gasket contacts evenly and the latch can engage without pulling the lid sideways.
- Use transfer marks or a template to verify hole positions.
- Inspect the planned drill path from below for wires, hoses and inaccessible nuts.
If a hatch is heavy enough to injure someone, provide a suitable stay or support. A hinge is not automatically a hold-open device.
Bed the fastener penetrations, not the mechanism
The installation must exclude water from holes and substrate while allowing the knuckle and pin to move freely. Keep sealant out of moving parts. Select sealant according to the fitting maker, deck material and future service needs; “marine sealant” is not one universal chemistry. For a broader removal-and-rebed workflow, consult BoatUS rebedding guidance.
Final check
Operate the lid slowly at least ten times. Watch for a leaf lifting, a pin walking, screw heads contacting the opposite leaf and changing gasket compression. Then close and water-test in a controlled way appropriate to the opening. If alignment changes after tightening, the surfaces were not coplanar or the hinge was pulled into position by its fasteners.
Editorial note: This guide explains selection geometry and inspection. It does not assign a load rating to any hinge or replace the hatch manufacturer's installation instructions. Hatch fitting principles were cross-checked against a Lewmar-branded hatch and portlight fitting guide.


Leave a comment
This site is protected by hCaptcha and the hCaptcha Privacy Policy and Terms of Service apply.