
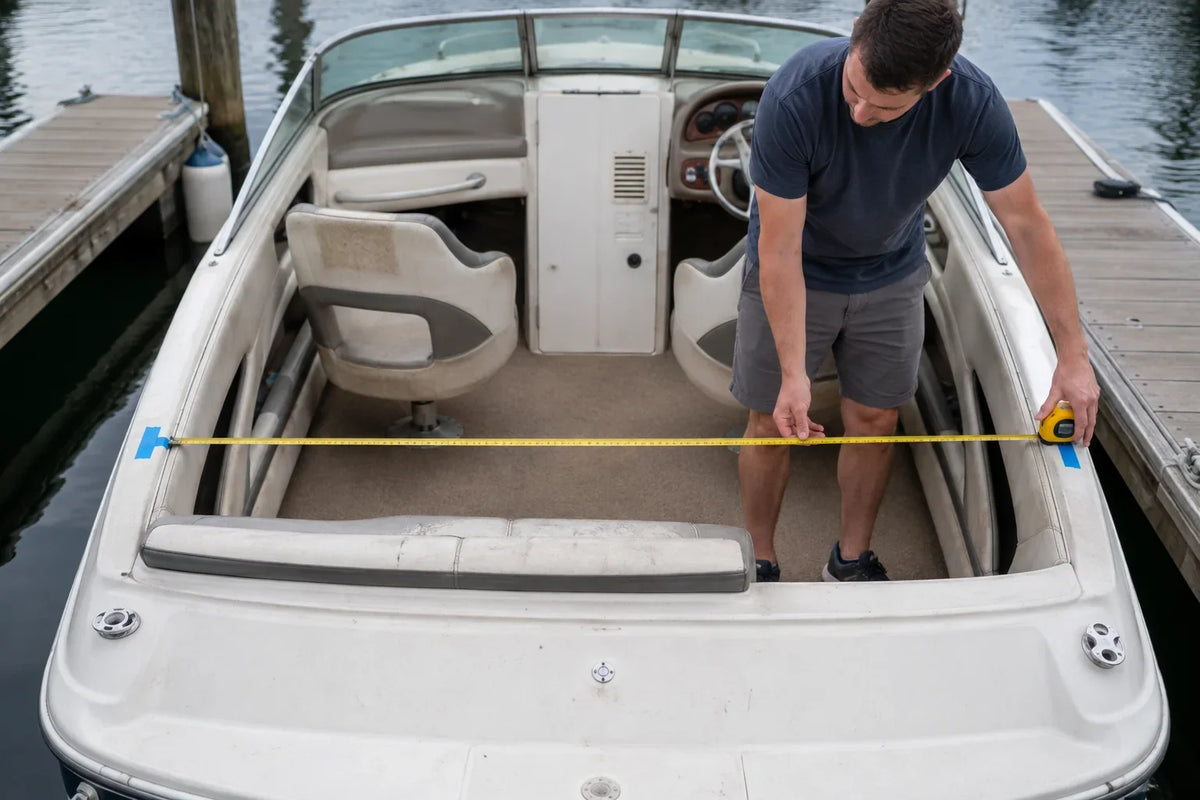
Cover image note: This AI-generated technical illustration shows a representative pre-order bimini width measurement. It is not a vessel-specific measurement record; measure the actual mounting points and clearances.
The most useful bimini measurement is not “how wide is the boat?” It is the distance between the two mounting points you have deliberately chosen after checking shade, headroom, folded storage and access to the deck below.
Measure with the boat level and the intended seating, console and windshield in place. If possible, have one person hold a tape while another photographs the measurement square-on. Do not order from a model name alone; boats of the same model can have different rails, tops or owner modifications.
First decide where the top must work
Mark the area that needs shade at the time of day and operating position that matter to you. Then consider:
- standing or seated headroom;
- clearance for the helm, windshield, antennas and rod holders;
- where the folded top will rest;
- whether doors, hatches and lockers still open;
- safe handholds and side-deck passage;
- access beneath the deck for hardware and backing.
Width: measure between mounting points
Select two level, structurally suitable mounting locations opposite each other. Measure the straight-line distance between them according to the chosen manufacturer's convention—commonly between the mounting-point centers. Do not measure fabric width and assume it equals mounting width. Repeat the measurement forward and aft to reveal taper or asymmetry.
Height: measure above the mounting point
Bimini “height” is normally added above the mounting surface, not measured from the cockpit sole. To estimate finished clearance, add the planned top height to the mounting-point height above the sole, then account for bows and fabric shape. A taller top usually increases headroom but may reduce useful shade and increase wind exposure. That is a tradeoff, not an automatic upgrade.
Length: define the fore-and-aft shade envelope
Top length describes the fore-and-aft coverage when deployed. Use temporary tape lines or lightweight battens to visualize the leading and trailing edges. Check turning, boarding and fishing movements. Make sure the support straps or braces have workable attachment positions without crossing an opening.
Hardware details people forget
Record the rail or deck-mount geometry, tube outside diameter, jaw-slide or eye-end type, pin diameter and available fastener footprint. If you are reusing existing hardware, measure it rather than assuming a nominal size. A component such as AirowMarine's 22 mm swivel-joint form is only relevant if its dimensions and articulation match the rest of the frame.
For complete tops, compare your measurement record with the live dimensions of the three-bow example or two-bow example. Product titles are not a substitute for the dimensional drawing and supplied instructions.
The cardboard-and-tape test
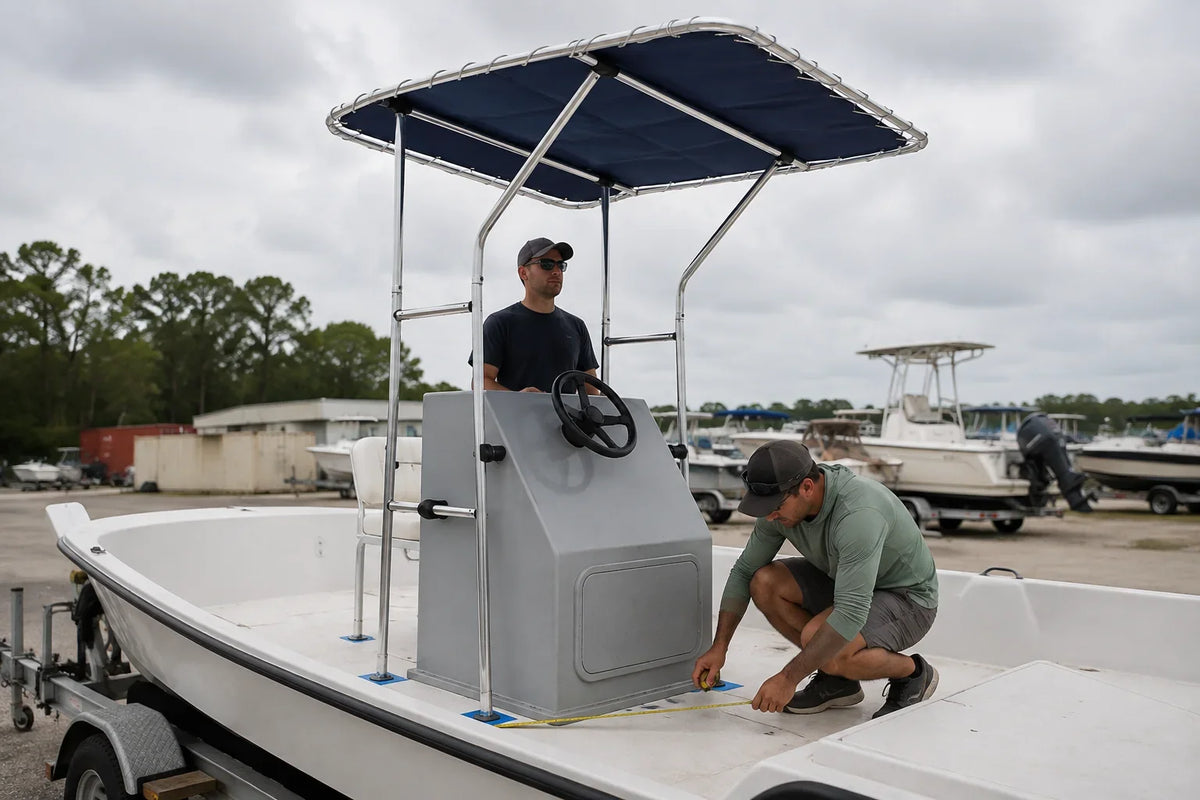
Before drilling, tape the proposed mount centers and build a simple outline with painter's tape, light tubing or cord. Move through normal tasks: sit at the helm, stand, board, open every nearby hatch and fold the imagined top. Check sightlines from both seated and standing positions. This rough mock-up often catches a poor location more cheaply than polished hardware does.
Installation boundary
Mounts must transfer loads into suitable structure. Inspect for core, liners, wiring and access. Use the top manufacturer's fasteners, backing and operating limits. Secure or fold the top as instructed before speeds or conditions beyond its approved use. Fabric tension cannot compensate for a frame that has been sprung into mismatched mounts.
Measurement basis: The workflow above was cross-checked against Carver Industries' selection guidance and its installation guide. Always follow the final product's own instructions where they differ.

Leave a comment
This site is protected by hCaptcha and the hCaptcha Privacy Policy and Terms of Service apply.