
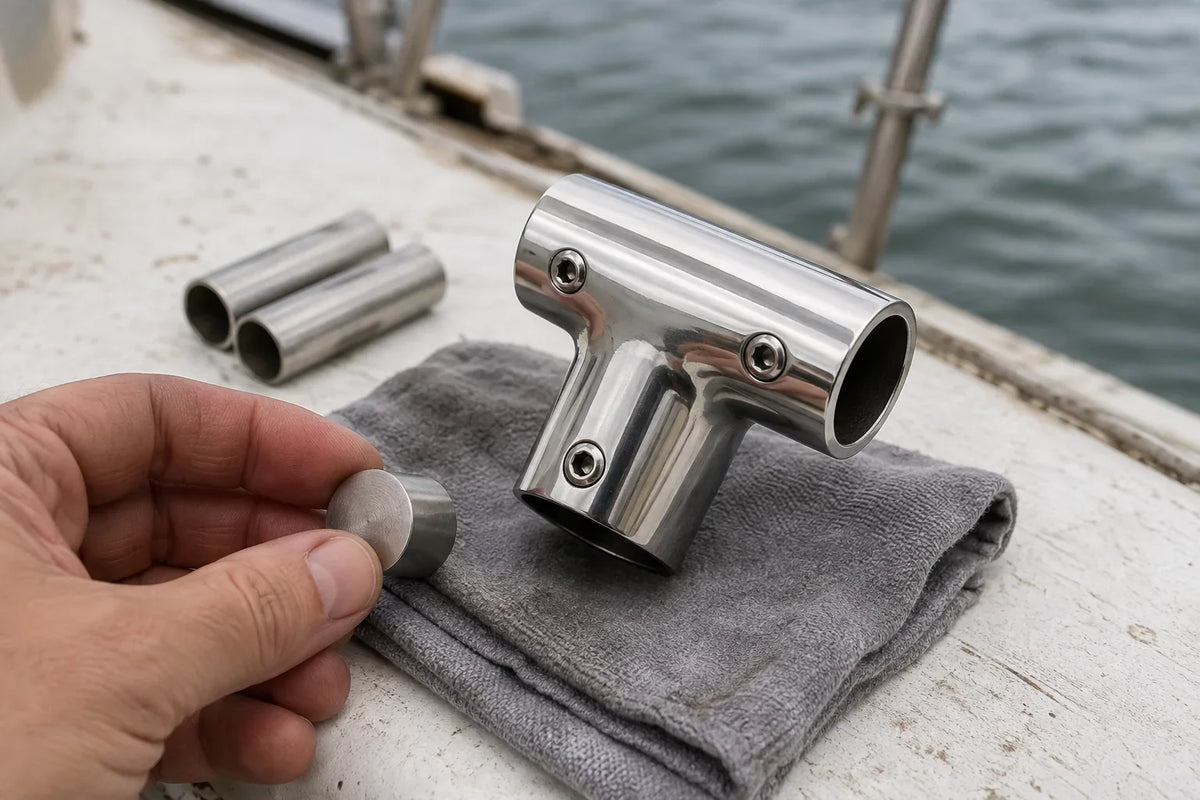
Cover image note: This AI-generated technical illustration shows a reference-based three-way rail fitting being measured. It is not a dimensional drawing; verify tube size, angles and fastener positions on the actual part.
A rail fitting can be the right alloy and still be the wrong replacement. Most ordering mistakes happen because “one inch rail” is treated as a complete specification when it is only the beginning.
Before loosening the old fitting, photograph the rail from several steps back. You need to capture the geometry: where the tube wants to go, which way the base leans and what other parts will be disturbed. Then measure the tube, the fitting and the mounting surface separately.
The five measurements that prevent most surprises
- Tube outside diameter. Use calipers on a clean, undeformed section. Do not infer it from a tape measure wrapped around the tube.
- Engagement depth. Measure how far the tube enters the socket. A fitting can accept the diameter yet provide too little engagement after the rail is cut.
- Centerline angle. Name angles from the tube centerline or the mounting surface and state which convention you used. Product names are not always consistent.
- Base footprint and hole pattern. Record overall footprint, hole-center spacing, hole diameter and fastener-head clearance.
- Access below the base. Note laminate thickness, core material, backing, wire runs, headliner and whether a tool can reach every nut.
For a replacement request, include one photo with a ruler in the same plane as the feature being measured. Perspective can make a 22 mm tube resemble a 25 mm tube. A second photo should show the underside and backing arrangement.
Diagnose the movement before replacing the metal
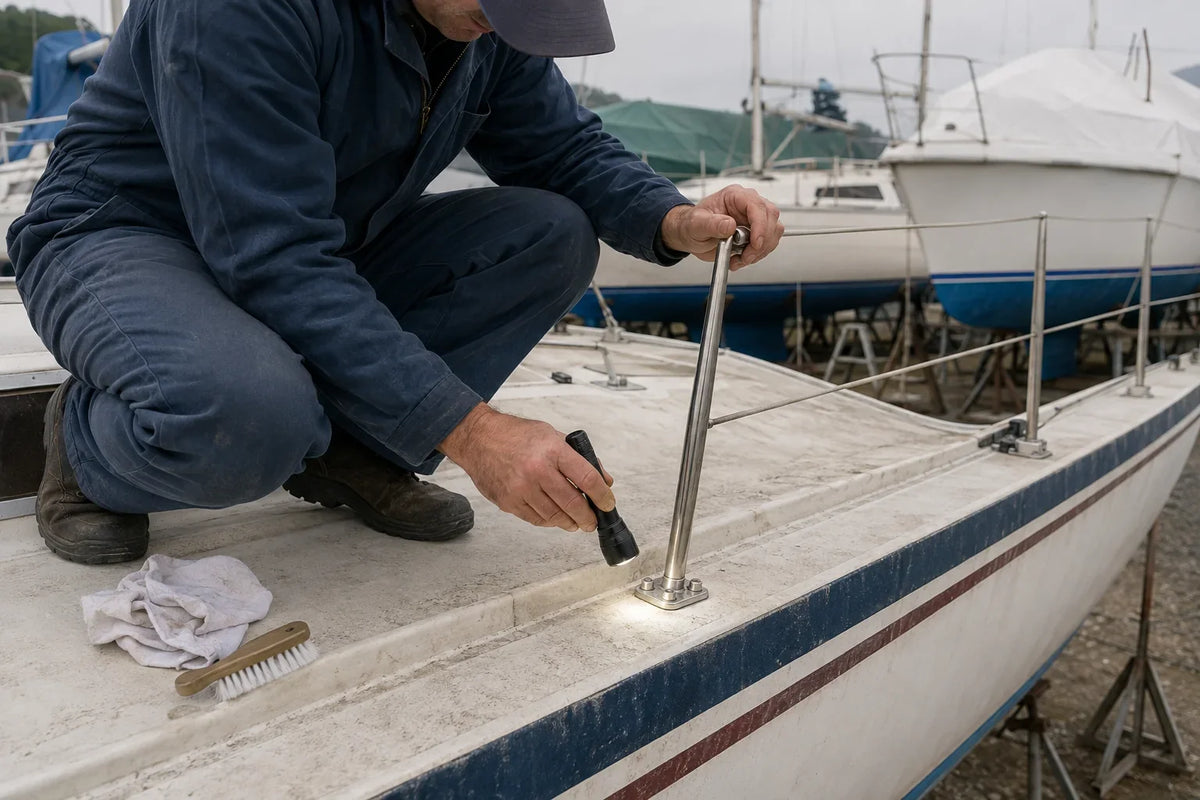
Ask a helper to move the rail gently while you watch three places:
- If the tube moves inside the socket, check tube fit, set screws and local tube damage.
- If the fitting and fasteners move together, inspect bedding, hole condition and backing.
- If the deck skin flexes, stop. Replacing the visible fitting will not repair the structure beneath it.
Rust-coloured staining does not, by itself, prove that a fitting is made from a poor alloy. It may be contamination, a hidden fastener, trapped salt or crevice conditions. Clean, dry and trace the origin before deciding. For material limits, see our marine hardware materials guide.
Bases, elbows and tees solve different geometry problems
A base transfers load into the deck or cabin side. An elbow changes direction. A tee joins a branch to a continuous run. Combining those words with an angle and nominal tube size is still not enough: the socket bore, fastener method, wall clearance and finish must agree with the existing system.
AirowMarine carries several forms—for example a tee rail connector, a 90-degree stanchion elbow, and a 45-degree round-base fitting. These links show product form factors, not a promise that any of them fit your boat. Compare the live listing with your measured dimensions before ordering.
Installation is a load-path job
Dry-fit the entire rail section before drilling. A small angular error at one base can become a large mismatch at the far end. When through-bolting is possible, use a backing arrangement appropriate to the substrate and expected load; a washer is not automatically an adequate backing plate. On cored laminate, exposed core at drilled holes needs a repair method suitable for that construction before bedding.
Bedding compound should keep water out without becoming the primary structural adhesive unless the boatbuilder or product manufacturer specifies otherwise. Follow compatibility and cure instructions for the deck material, fitting and sealant. Tighten in a controlled sequence, remove squeeze-out as directed, and recheck only after the stated cure process.
A practical acceptance check
After assembly, the rail should follow its intended line without being sprung forcibly into the sockets. All bases should sit flat, fasteners should be fully engaged without bottoming, and there should be no sharp projections. Apply moderate hand pressure in several directions while another person watches each base. Reinspect after the first trip, because bedding compression and vibration can reveal issues that a dry fit did not.
Sources and scope: General installation and backing principles were checked against TACO Marine rail-hardware guidance and BoatUS guidance on backing plates. Exact dimensions, fasteners and allowable loads remain product- and vessel-specific.


Leave a comment
This site is protected by hCaptcha and the hCaptcha Privacy Policy and Terms of Service apply.