
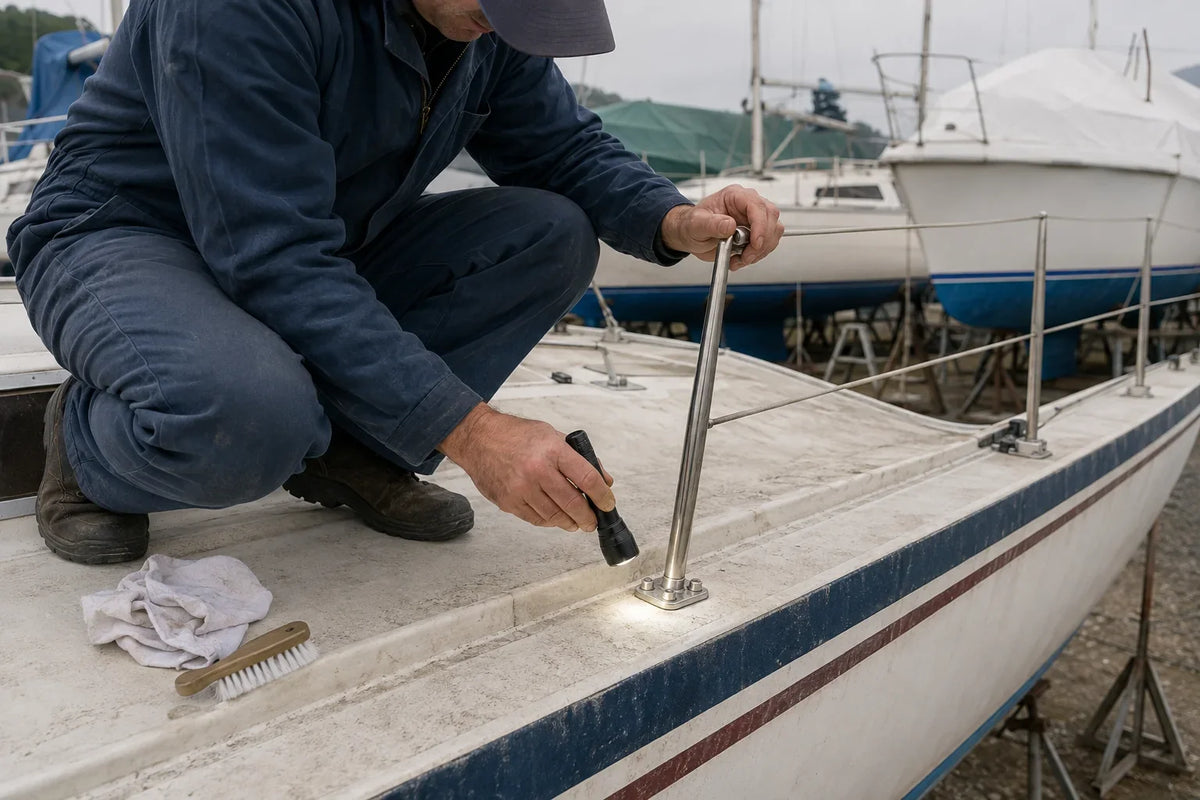
Cover image note: This AI-generated technical illustration depicts a representative spring deck-hardware inspection. It is not a customer photograph, field report or record of a completed AirowMarine service.
A spring hardware inspection is less about making stainless steel shine and more about finding movement, water entry and lost load paths before the first hard day on the water. Work from bow to stern with the boat unloaded and enough light to see both sides of each fitting. If a fitting carries a person, a mooring line or ground tackle, inspect the structure beneath it as carefully as the visible metal.
This is a dockside screening checklist, not a survey. Stop and involve a qualified marine technician or surveyor when you find soft laminate, elongated holes, inaccessible backing, cracked welds, significant section loss or a fitting whose failure could cause injury or flooding.
Bring a small, useful inspection kit
A flashlight, phone camera, plastic pick, clean cloth, mild soap and water, correctly sized hand tools, and a notepad are enough for the first pass. Do not begin by tightening everything. A loose fastener is evidence; photograph it and inspect below before you erase the clue.
1. Walk the deck before opening a toolbox
- Step beside—not on—cleats, stanchion bases, hinges and hatch frames. Listen for creaking and feel for local flex.
- Look for rust-coloured trails, cracked sealant, lifted bedding edges and dark moisture marks.
- Check whether paired fasteners sit at the same height. One proud head can indicate movement or a damaged thread.
- Photograph the fitting, the surrounding deck and the underside. A close-up alone rarely explains the load path.
2. Inspect hardware by what it has to do
Mooring cleats and chocks
Look for rotation marks at the base, distortion, sharp line-contact edges and movement under moderate hand pressure. Below deck, confirm that nuts, washers and the backing arrangement are present and dry. A glossy fitting on a thin or deteriorated laminate is not a strong installation. Our separate cleat and backing guide explains this load path in more detail.
Rails, grab handles and stanchions
Apply alternating hand pressure while another person watches the base. Movement at a tube joint suggests a loose set screw or poor tube fit; movement of the entire base points below the fitting. Check that clothing and lines cannot catch on exposed fasteners or split tube ends. Use the railing fitment guide before ordering replacement bases or elbows.
Hatches, hinges and latches
Open each hatch slowly. Watch whether the lid rises squarely, the hinge leaves stay flat and the latch compresses the gasket evenly. Black dust near a hinge pin, polished witness marks or a lid that must be pushed sideways are useful signs of misalignment. Do not use the latch to force a distorted lid into shape.
Deck drains and scuppers
Remove loose debris and pour a controlled amount of fresh water into the channel while watching the outlet. Slow drainage can come from the grate, hose, bend, outlet height or a stuck flap—not just the visible drain body. Inspect hose ends and clamps from below where accessible. See the deck-drain inspection guide for a system-level check.
Anchor and bow hardware
Lay out enough rode to see the working end. Check the anchor connection, shackle pin security, swivel articulation, chain wear, rope splices, bow roller and securing point. Verify that the anchor cannot deploy unintentionally and that the windlass is not being used as the sole long-term securing point. The ground-tackle guide covers component compatibility.
3. Treat staining as a symptom, not a diagnosis
Surface staining can come from embedded iron, contamination, trapped salt, crevices, contact with dissimilar metals or corrosion of a hidden fastener. Clean first with a method compatible with the finish, then inspect again. Do not identify an alloy from colour or polish alone. If material selection is part of the decision, use our 304 vs 316 stainless vs galvanized steel guide as a starting point and verify the actual part documentation.
4. Decide: clean, service, re-bed or escalate
- Clean and monitor
- Light contamination with no movement, cracking or water trace. Record a photo so you can compare it later.
- Service
- A removable pin, cam or fastener needs cleaning or adjustment and the manufacturer provides a service procedure.
- Re-bed
- Water tracks or failed bedding are present, but the substrate is sound and the fitting can be removed without damage.
- Escalate
- The deck is soft, holes are enlarged, metal is cracked, backing is inadequate, a below-waterline component is involved, or the correct repair is unclear.
A ten-minute recheck after launch
Once the boat is afloat, inspect bilges and accessible through-hull areas before leaving the berth. After the first short run, recheck repaired fittings for water traces and movement. A static inspection cannot reproduce line loads, vibration or water pressure.
Editorial basis: This checklist was assembled by the AirowMarine Editorial Team from general commissioning guidance including BoatUS spring commissioning guidance and the BoatUS commissioning checklist. It contains no claimed AirowMarine field test.

Leave a comment
This site is protected by hCaptcha and the hCaptcha Privacy Policy and Terms of Service apply.